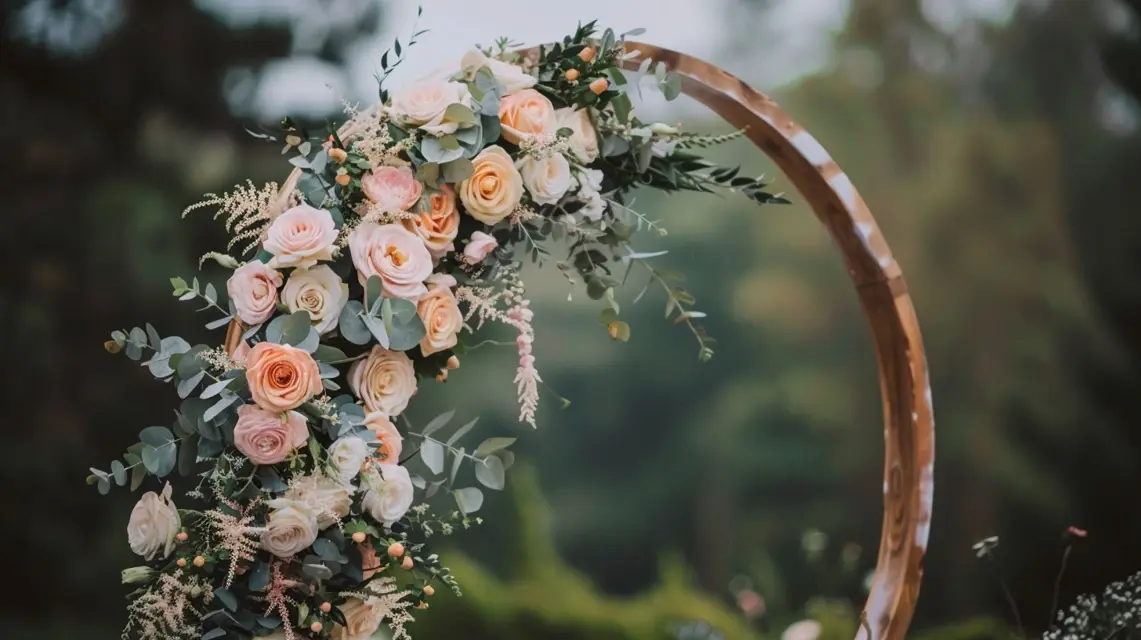
DIY Photo Booth Using an Arch Backdrop Stand
Looking for a fun and memorable way to entertain guests? A DIY photo booth using an arch backdrop stand creates the perfect setting for photos at weddings, birthdays, showers, and even corporate events. With a little creativity, you can turn a simple arch into a professional-looking photo station that your guests will love.
Why Choose an Arch Backdrop Stand for a Photo Booth?
An arch backdrop stand is versatile, portable, and easy to decorate. Unlike flat backdrops, arches add depth and structure, making photos more dynamic and eye-catching. They also work well both indoors and outdoors, giving you flexibility for any event.
Materials You’ll Need
- Arch backdrop stand (metal, wood, or PVC)
- Decorative elements: balloons, flowers, fabric, or greenery
- Lighting: string lights, fairy lights, or LED spots
- Props for guests: hats, signs, masks, or fun accessories
- Camera or phone setup with tripod (optional: ring light)
Step-by-Step Setup
Step 1: Position the Arch
Place the arch backdrop stand in an open area with enough room for guests to pose comfortably. Consider a corner, entryway, or backyard spot.
Step 2: Add Your Base Decor
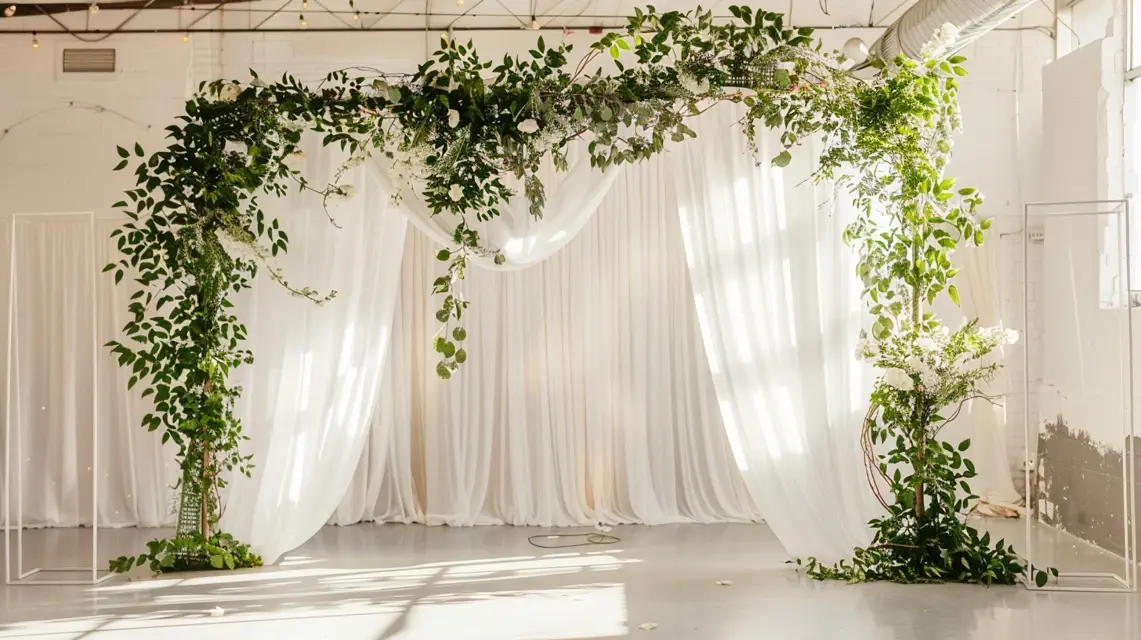
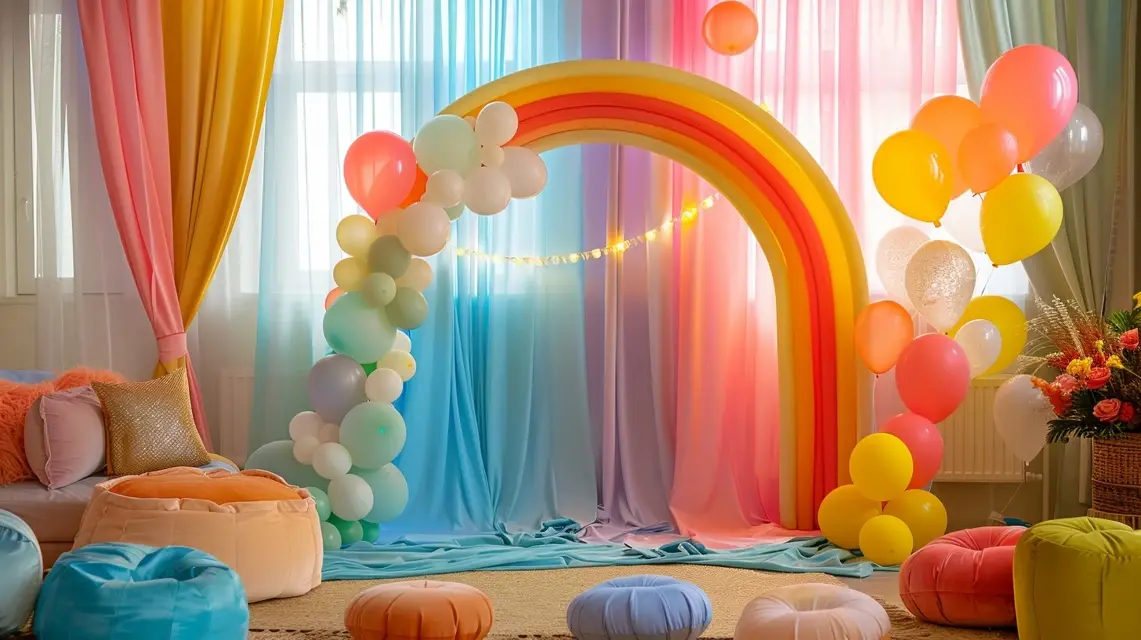
Start with fabric draping or balloon garlands to define the shape of your arch. Choose colors that match your event’s theme.
Step 3: Layer Decorative Details
Add flowers, greenery, or themed props around the arch. Use zip ties or clips for easy adjustments.
Step 4: Enhance with Lighting
Good lighting ensures stunning photos. Wrap string lights around the arch or position a ring light near the booth for professional-quality images.
Step 5: Add Guest Props
Provide baskets of props like funny hats, sunglasses, or chalkboard signs for guests to use in their photos.
Step 6: Set Up the Camera
You can keep it simple with a phone on a tripod or go all out with a professional camera. For larger events, consider adding a photo printer for instant keepsakes.
Creative Themes to Try
- Romantic: Soft fabrics, roses, and fairy lights
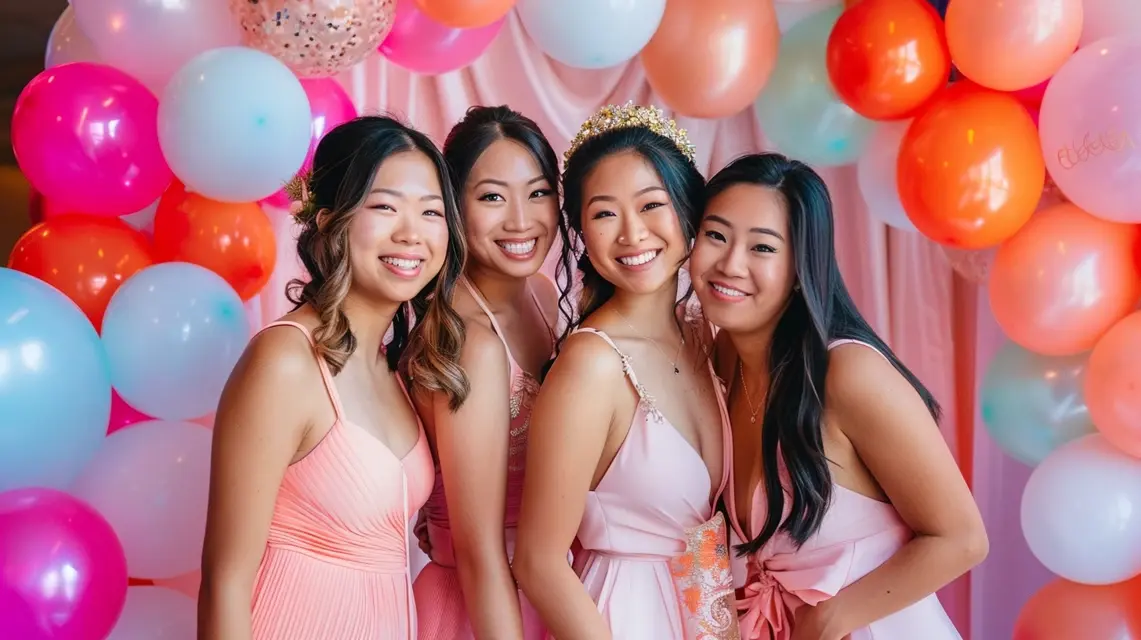
- Playful: Bright balloons and colorful props
- Seasonal: Pumpkins and leaves for fall, or pine garlands for winter holidays
- Corporate: Company branding and professional accessories
Tips for a Smooth Photo Booth Experience
- Mark a posing area with a rug or tape so guests know where to stand
- Test lighting before the event begins
- Encourage group photos as well as solo shots
- Have someone assist with props and camera setup
Next Steps
Once you’ve built your booth, explore our guides on DIY balloon garlands and creative fabric draping to take your design to the next level. These additions make your photo booth both functional and unforgettable.
Conclusion
A DIY photo booth with an arch backdrop stand is an affordable, stylish, and customizable way to entertain guests. With just a few decorations and some creativity, you’ll create an engaging focal point that delivers lasting memories through photos.
