How to Create a DIY Arch Backdrop Stand on Wheels
If you want flexibility in your event décor, a DIY arch backdrop stand on wheels is the perfect solution. Instead of struggling to move a heavy, static structure, you can roll your backdrop across the room with ease. This design is ideal for venues that need quick setups, multipurpose layouts, or seamless transitions between ceremony and reception spaces.
Why Add Wheels to an Arch Backdrop?
A mobile arch backdrop offers several advantages over a stationary one:
- Flexibility: Move your arch between different areas without disassembly
- Time-Saving: Quick repositioning during events
- Multi-Use: Works indoors or outdoors with ease
- Professional Finish: Offers a polished and adaptable setup
Materials You’ll Need
- Arch backdrop stand frame (metal, PVC, or wood)
- Four heavy-duty caster wheels with locks
- Base supports (wood planks or metal plates)
- Screws, bolts, or brackets for wheel attachment
- Optional: spray paint to finish the frame
- Decorations: fabric, flowers, balloons, or greenery
Step-by-Step Build Instructions
Step 1: Prepare the Base
Start with a solid base for your arch backdrop stand. Attach wide wooden planks or metal plates to the bottom for stability. This ensures the wheels will support the frame safely.
Step 2: Install the Wheels
Secure four heavy-duty caster wheels at each corner of the base. Choose wheels with locking mechanisms to prevent unwanted movement during the event.
Step 3: Assemble the Frame
Build your arch backdrop stand as usual, using PVC, wood, or metal depending on your preference. Ensure the frame is tightly secured to the mobile base.
Step 4: Test Mobility
Roll the arch around your space to confirm smooth movement. Lock the wheels in place once you’ve positioned the stand in the desired location.
Step 5: Add Décor
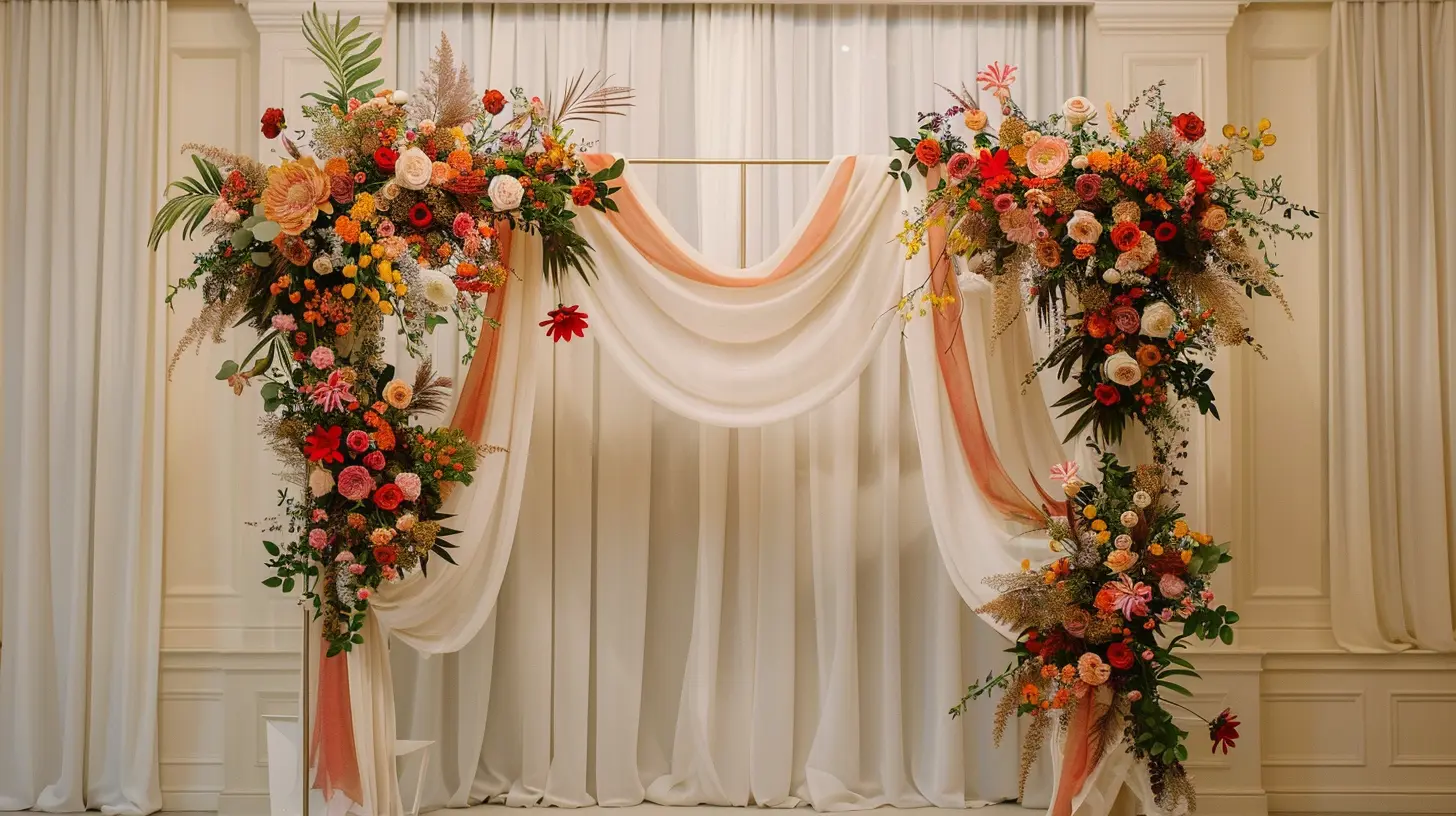
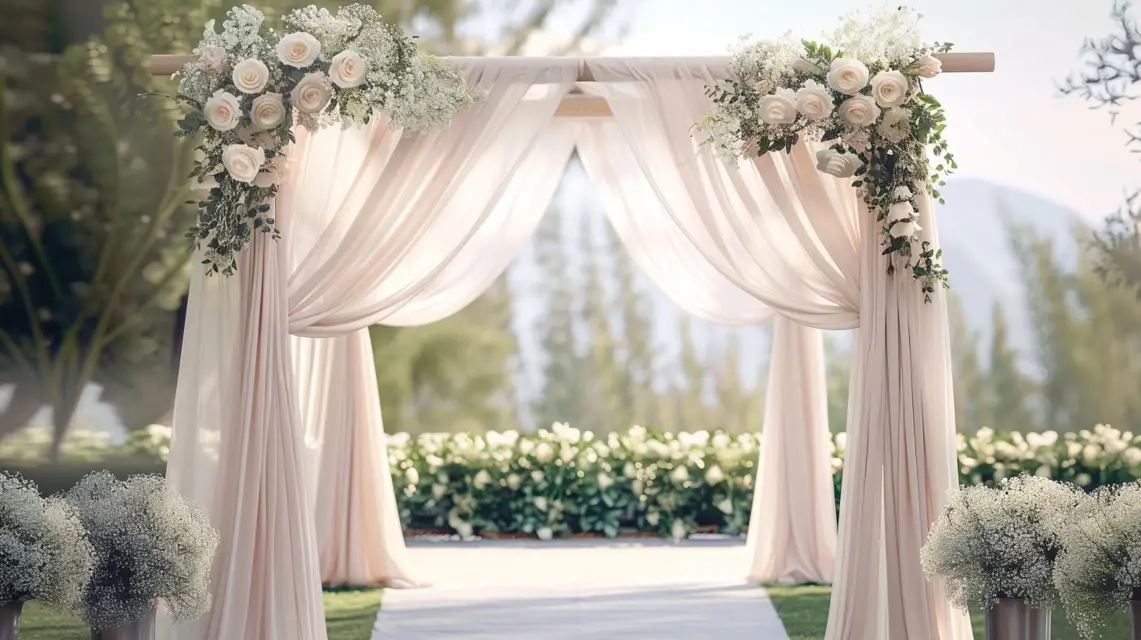
Style your mobile arch with fabric, balloons, greenery, or lights. Ensure decorations are securely attached so they won’t shift when the stand is moved.
Creative Uses for a Mobile Arch Backdrop
- Weddings: Move the arch from ceremony to reception for dual use
- Birthday Parties: Transition between cake cutting and photo zones
- Corporate Events: Relocate backdrops quickly for presentations or booths
- Outdoor Gatherings: Adjust placement as sunlight or weather changes
Tips for Success
- Use lockable caster wheels for safety
- Keep decorations lightweight for easy movement
- Test mobility before event day
- Consider detachable sections for easier storage
Next Steps
Once your rolling arch is complete, check out our guides on DIY fabric coverings and floral styling ideas to make your mobile design even more eye-catching.
Conclusion
Building a DIY arch backdrop stand on wheels combines practicality with style. With the ability to move your backdrop effortlessly, you’ll save time, reduce stress, and create a versatile centerpiece that works for any event setting.


