Step-by-Step DIY Arch Backdrop Stand Setup Guide
Building your own arch backdrop stand can transform any event space into a beautiful focal point without breaking the budget. Whether it’s for a wedding, birthday, or photo shoot, a DIY approach gives you full control over style and cost.
Why Choose a DIY Arch Backdrop Stand?
A homemade backdrop stand isn’t just affordable—it’s customizable. You decide the size, materials, and finish to match your event theme. Plus, assembling one yourself ensures it’s sturdy and tailored to your unique needs.
Materials You’ll Need
- PVC or metal pipes (for the frame)
- Connectors and joints
- Base supports or weighted stands
- Screws or pipe glue (depending on material)
- Decor elements: fabric, greenery, balloons, or lights
- Basic tools: drill, measuring tape, and level
Step-by-Step Setup Instructions
Step 1: Measure Your Space
Before building, measure the area where the arch backdrop stand will be placed. This ensures it won’t be too wide or tall for the location.
Step 2: Assemble the Base
Stability is key. Use heavy base plates or weighted stands to hold the structure firmly. For outdoor use, consider sandbags or ground stakes.
Step 3: Connect the Frame
Attach vertical pipes to the base, then connect the top arch using elbows or curved sections. Secure joints with screws or adhesive.
Step 4: Check for Balance
Use a level to ensure the arch is standing straight. Adjust the base if needed before adding decorations.
Step 5: Add Decorative Elements
Once the frame is stable, begin adding fabric, flowers, or lighting. For a professional look:
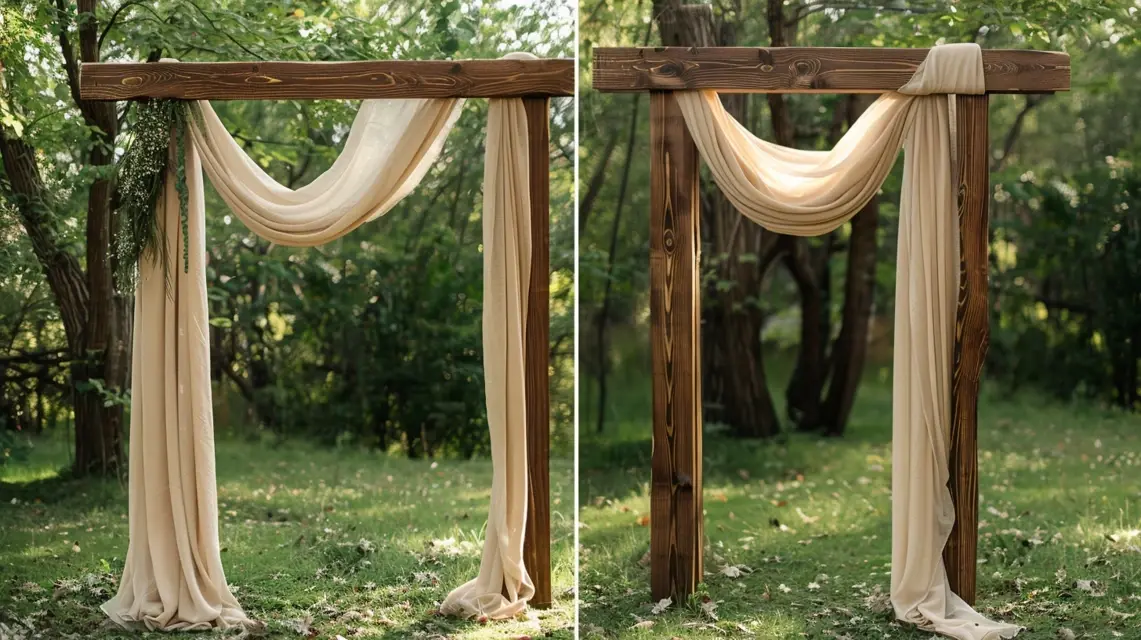
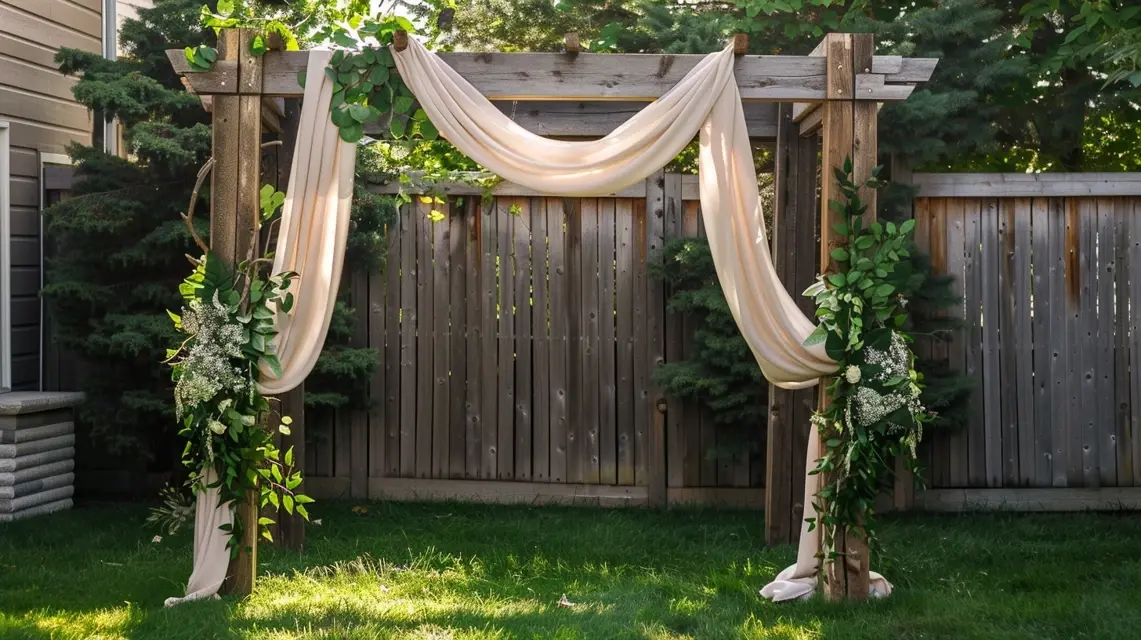
- Drape fabric in layers for depth.
- Mix fresh or faux greenery with floral arrangements.
- Incorporate string lights or lanterns for evening events.
Step 6: Final Adjustments
Step back and view the arch from multiple angles. Adjust draping, align decorations, and ensure stability before the event begins.
Pro Tips for Success
- Choose lightweight materials if portability is important.
- Keep tools handy during setup for quick fixes.
- Test outdoors in advance if wind resistance is a concern.
Where to Use a DIY Arch Backdrop Stand
This setup works for multiple occasions, including:
- Wedding ceremonies and receptions
- Birthday parties
- Corporate events
- Photo booth backdrops
- Holiday gatherings
Next Steps
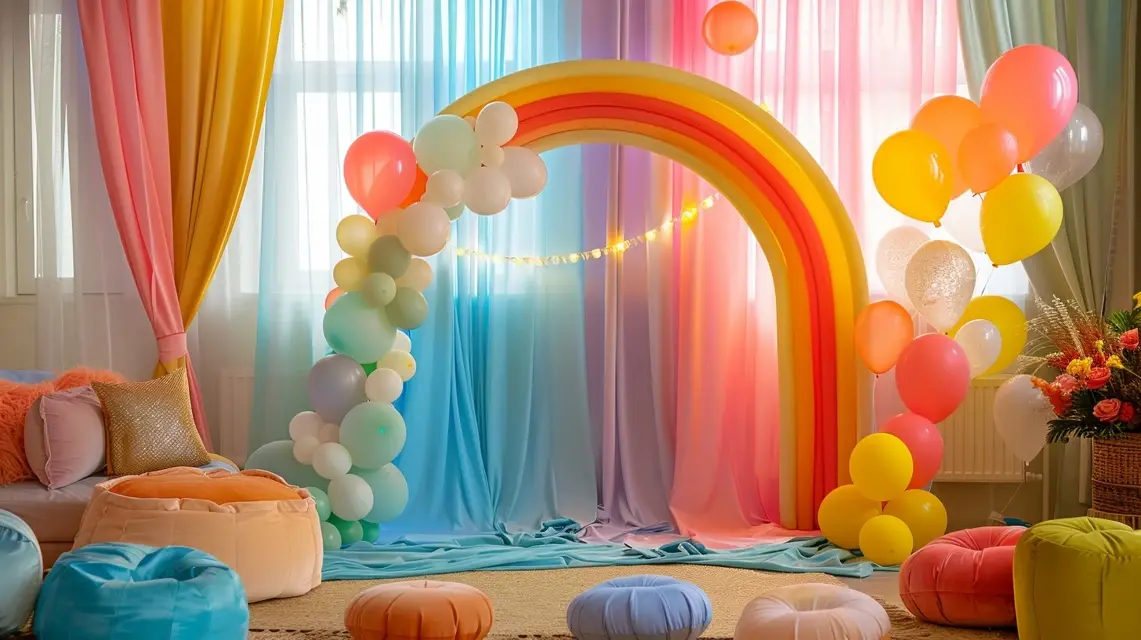
Once your backdrop is ready, explore creative decoration ideas like DIY balloon garlands or seasonal fabric draping to enhance your arch even further. Pairing your setup with a professional photo booth design ensures maximum impact.
Conclusion
With just a few tools and some creativity, you can build a stunning DIY arch backdrop stand that elevates any celebration. Follow this step-by-step guide, and your event will have a memorable centerpiece that guests will love.
