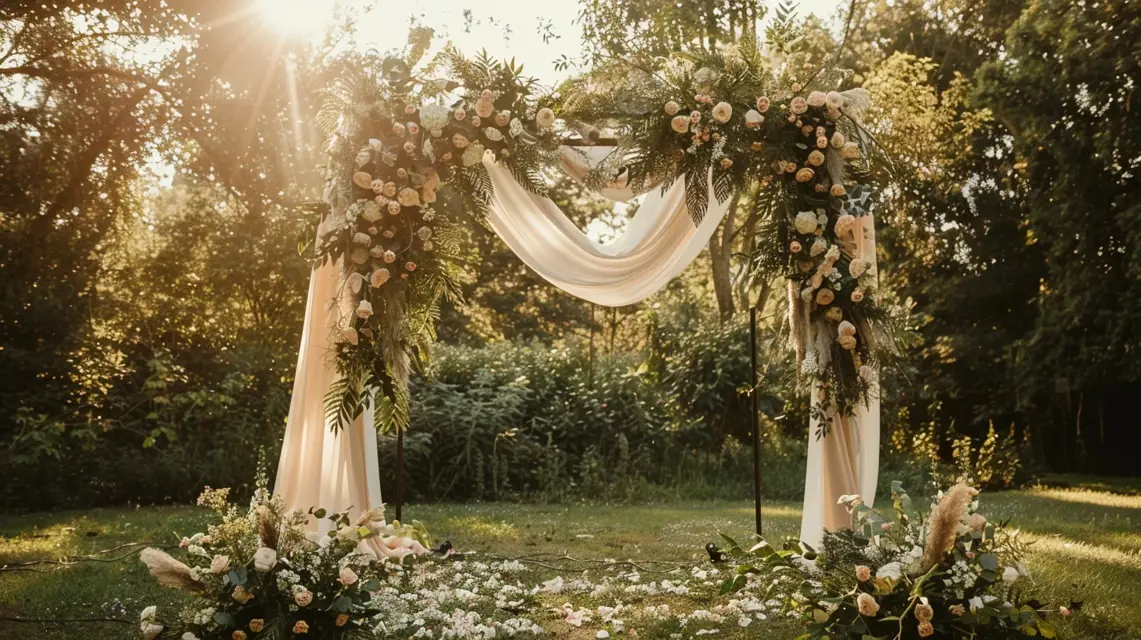
Step-by-Step Guide to Building an Arch Backdrop Stand
Creating a custom arch backdrop stand is a rewarding project that adds a personal touch to your wedding or event. With the right tools, materials, and guidance, you can design a sturdy, stylish arch that perfectly fits your vision. This step-by-step guide will walk you through the process from start to finish.
Materials You’ll Need
- Wooden beams, PVC pipes, or metal tubing (for the frame)
- Base supports or weighted stands
- Screws, bolts, or pipe connectors
- Drill and drill bits
- Saw (for wood or PVC)
- Measuring tape and level
- Sandpaper or file (for smooth edges)
- Optional: paint, stain, or decorative finishes
Step 1: Choose Your Arch Design
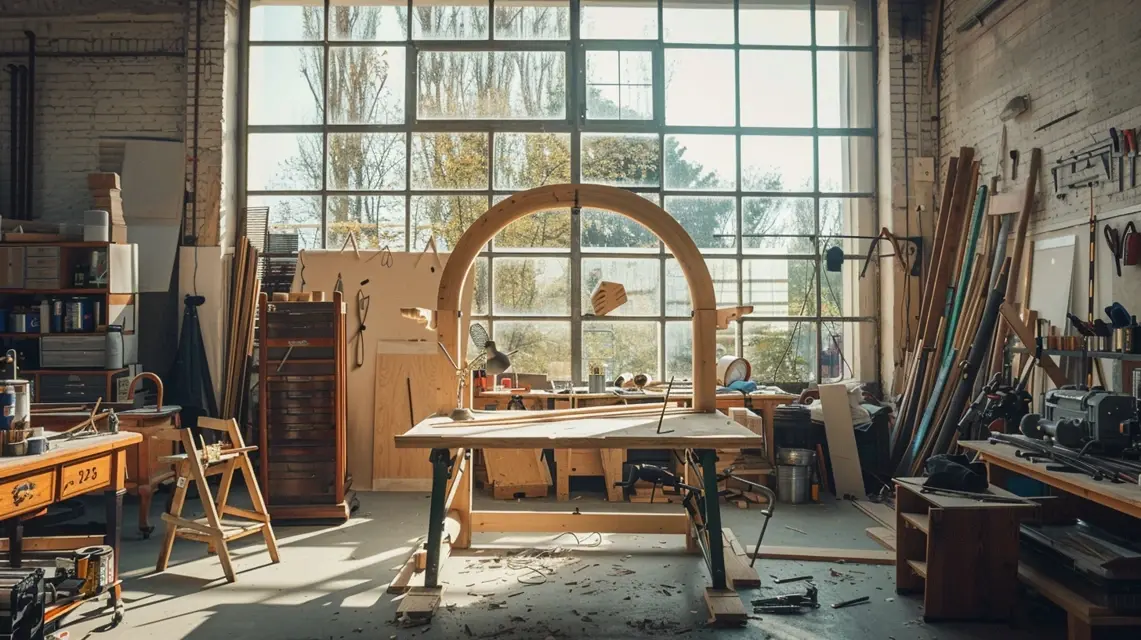
Decide on the shape—rectangular, circular, hexagonal, or curved. Keep in mind your wedding theme and venue style. Simpler shapes are easier to build, while curved or circular arches require more advanced tools or flexible materials like PVC.
Step 2: Cut and Prepare the Frame
Measure your materials to the desired height and width, typically between 7–8 feet tall and 6–8 feet wide. Use a saw to cut the beams or pipes. Sand any rough edges to ensure a safe and polished finish.
Step 3: Assemble the Base
A stable base is crucial for safety. Options include:
- Wooden bases: Cross-shaped planks weighted with sandbags.
- Metal plates: Heavy plates bolted to the bottom of the arch legs.
- PVC anchors: Larger PVC filled with concrete to hold the frame steady.
Step 4: Connect the Frame
Attach the vertical supports to the base, then connect the top arch or crossbar. Use screws, bolts, or connectors depending on your material. Check alignment with a level to ensure the arch stands evenly.
Step 5: Reinforce for Stability
Add extra bracing or diagonal supports if needed, especially for outdoor setups where wind might be a concern. Secure all joints tightly to avoid wobbling during the ceremony.
Step 6: Customize the Finish
Paint or stain the arch to match your wedding palette. For a rustic look, leave the wood natural. For modern vibes, spray paint the frame metallic gold, silver, or matte black.
Step 7: Add Décor
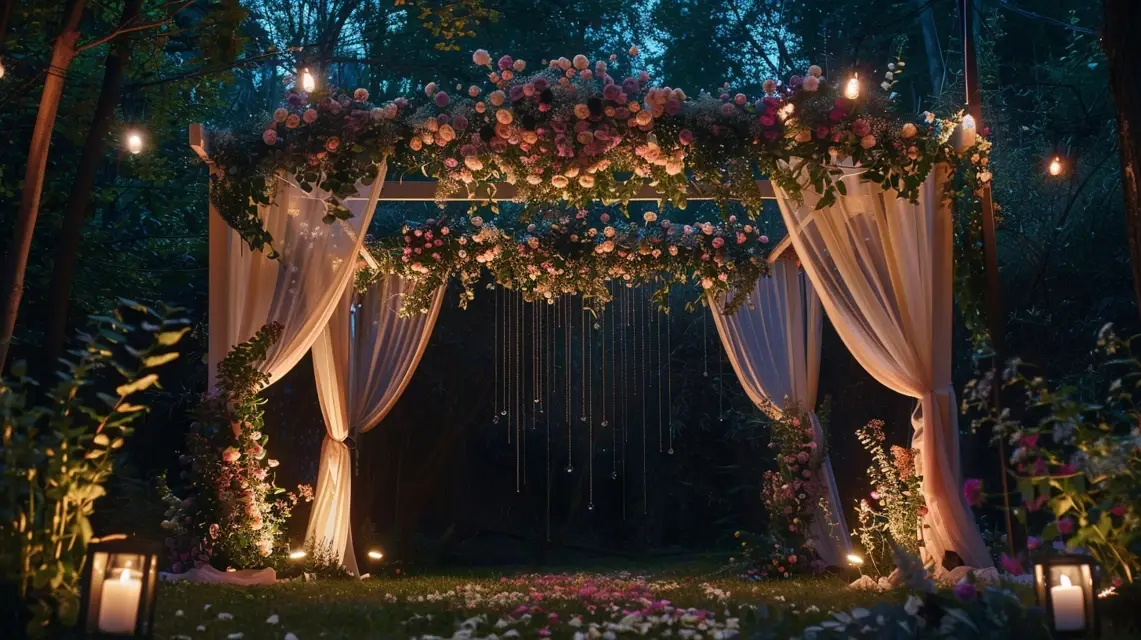
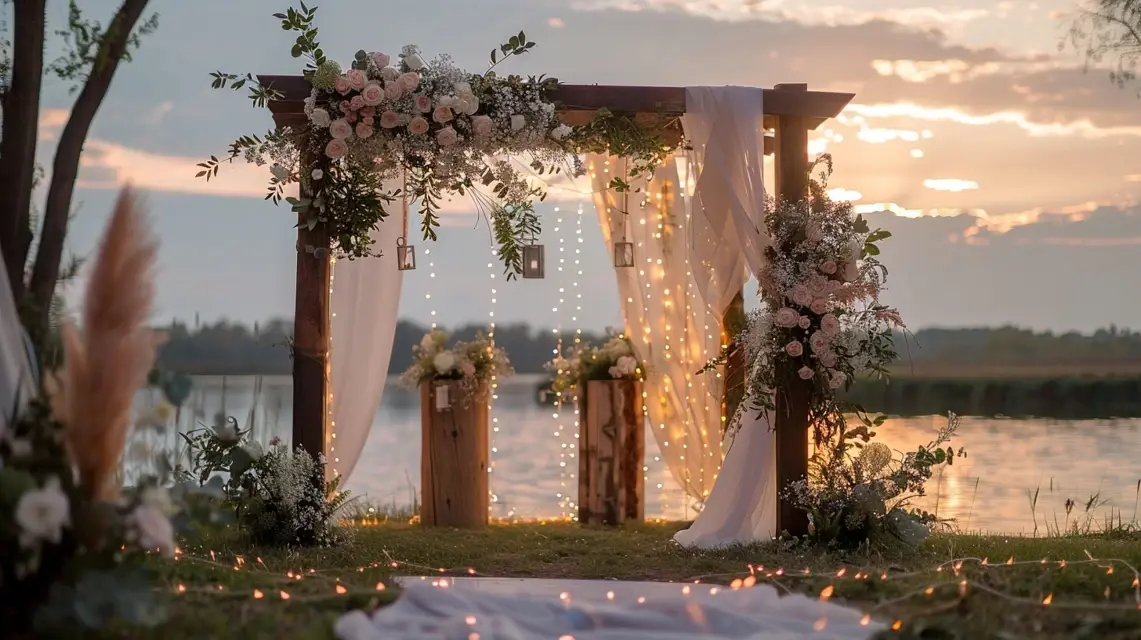
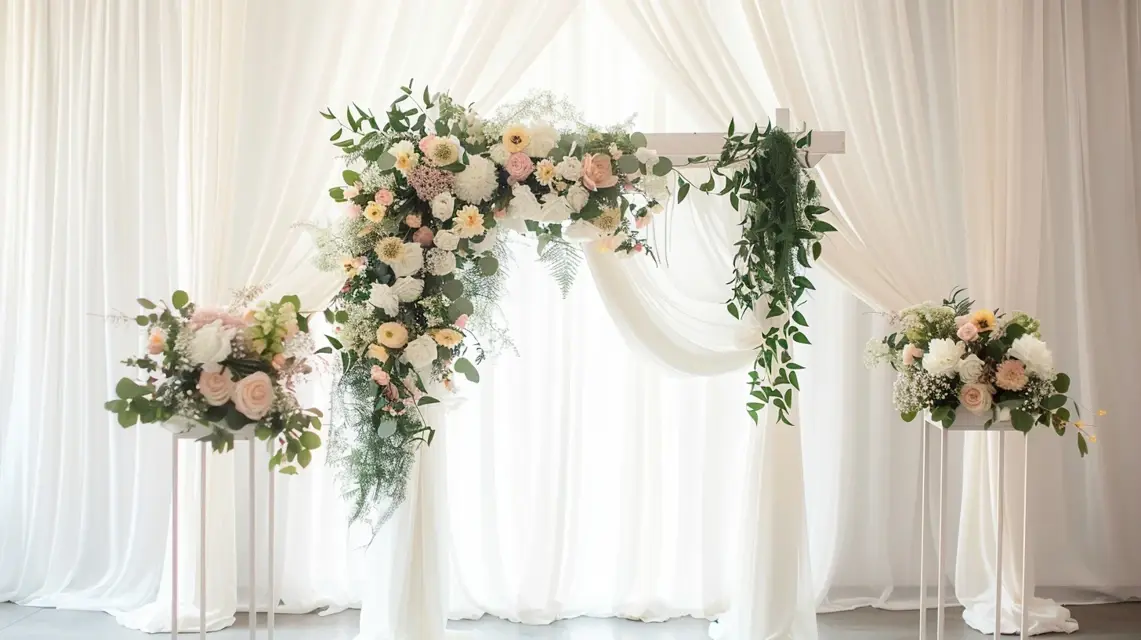
Once the structure is complete, decorate with flowers, greenery, fabrics, or lighting. Keep the decorations balanced for a visually pleasing result and distribute weight evenly to maintain stability.
Tips for Success
- Measure twice, cut once to avoid mistakes.
- Test the arch indoors before transporting it to your venue.
- Bring extra screws, tape, or zip ties on the wedding day for quick fixes.
- Ensure portability if you plan to repurpose the arch for reception décor.
Final Thoughts
Building your own arch backdrop stand is a cost-effective and meaningful way to personalize your wedding. With careful planning and craftsmanship, you can create a sturdy and stylish backdrop that highlights your ceremony and creates a lasting impression.
