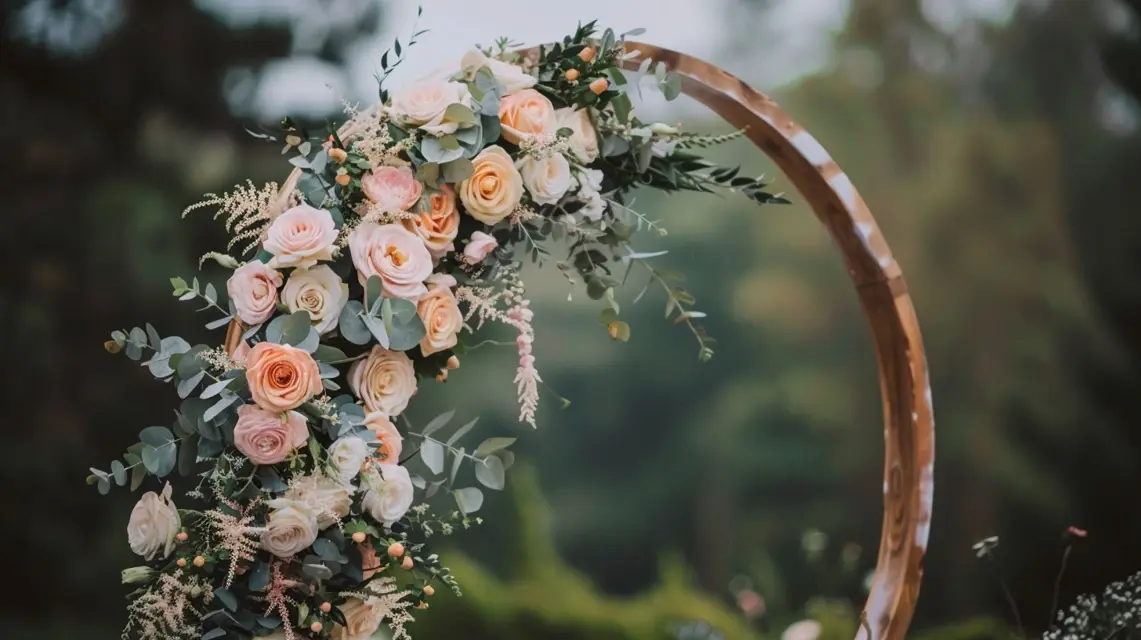
Step Guide to Creating a DIY Arch Backdrop Stand
A DIY arch backdrop stand is one of the most versatile event decorations you can build yourself. Whether you’re planning a wedding, birthday, or corporate gathering, this project offers a cost-effective way to create a stunning focal point. Follow this detailed step guide to design and assemble a professional-looking arch that works for any occasion.
Why Build Your Own Arch Backdrop Stand?
Purchasing or renting a backdrop stand can be expensive. By making one yourself, you gain:
- Budget savings without compromising on quality
- Creative control over design, size, and materials
- A reusable frame for multiple events
- The satisfaction of building a customized piece
Materials You’ll Need
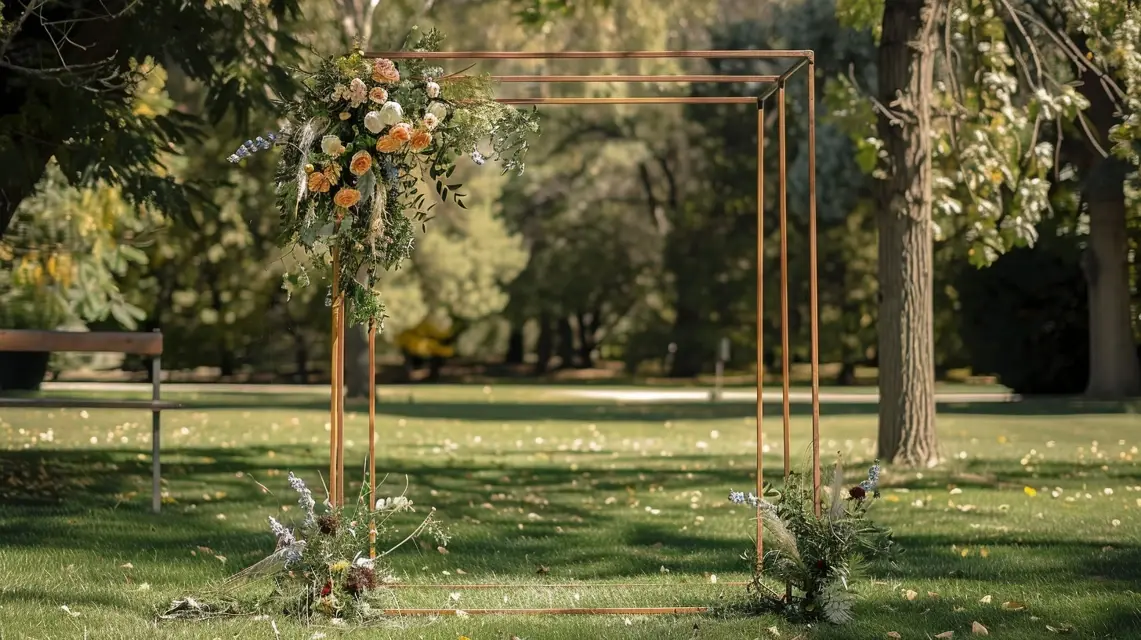
- Wood, PVC pipe, or metal tubing for the frame
- Connectors (elbows, T-joints, or brackets)
- Base supports or sandbags for stability
- Screws, bolts, or adhesive (depending on material)
- Decorative elements: fabric, balloons, flowers, or greenery
- Tools: drill, saw, or PVC cutter
Step-by-Step Build Instructions
Step 1: Measure Your Space
Choose where the arch will stand and measure carefully. A common size is 7–8 feet tall and 6 feet wide, but adjust to fit your venue.
Step 2: Build the Base
Assemble sturdy bases to hold the frame. For indoor events, wide wooden planks work well. For outdoor events, add weights or stakes for extra stability.
Step 3: Construct the Frame
Connect vertical posts to the base, then attach the curved or straight top section. Use brackets, screws, or strong connectors to secure all joints.
Step 4: Reinforce for Safety
Double-check balance with a level. If the stand wobbles, add crossbars or extra weight at the base until stable.
Step 5: Add Finishing Touches
Sand wood, spray paint metal, or leave PVC plain depending on your preferred style. Neutral colors like white, gold, or black suit most themes.
Decoration Ideas for Your Arch
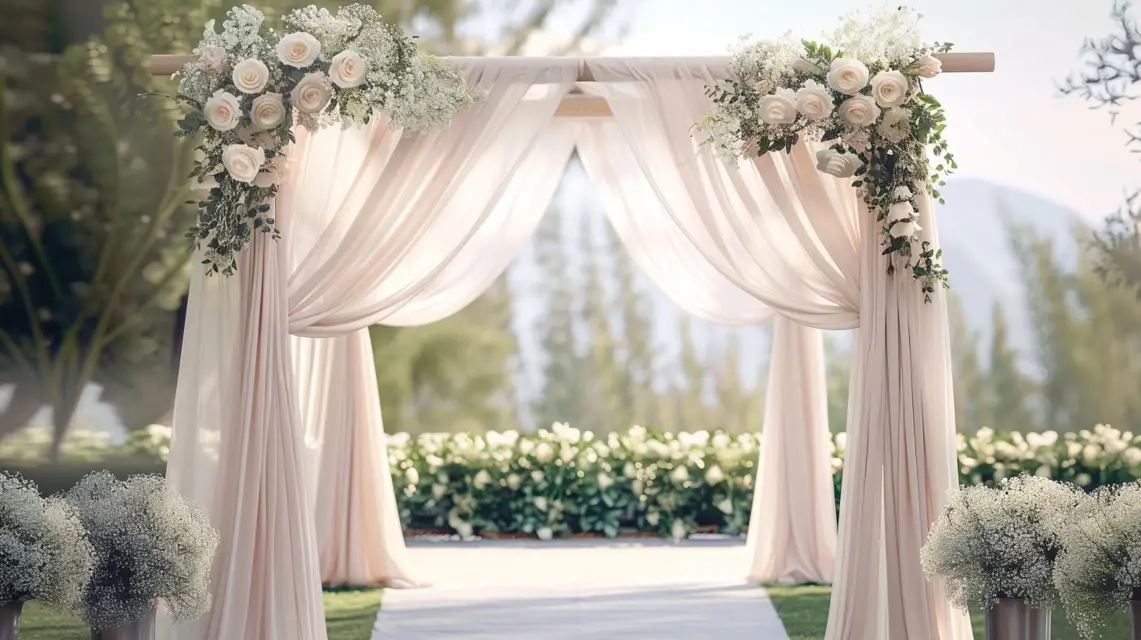
- Fabric coverings for elegance
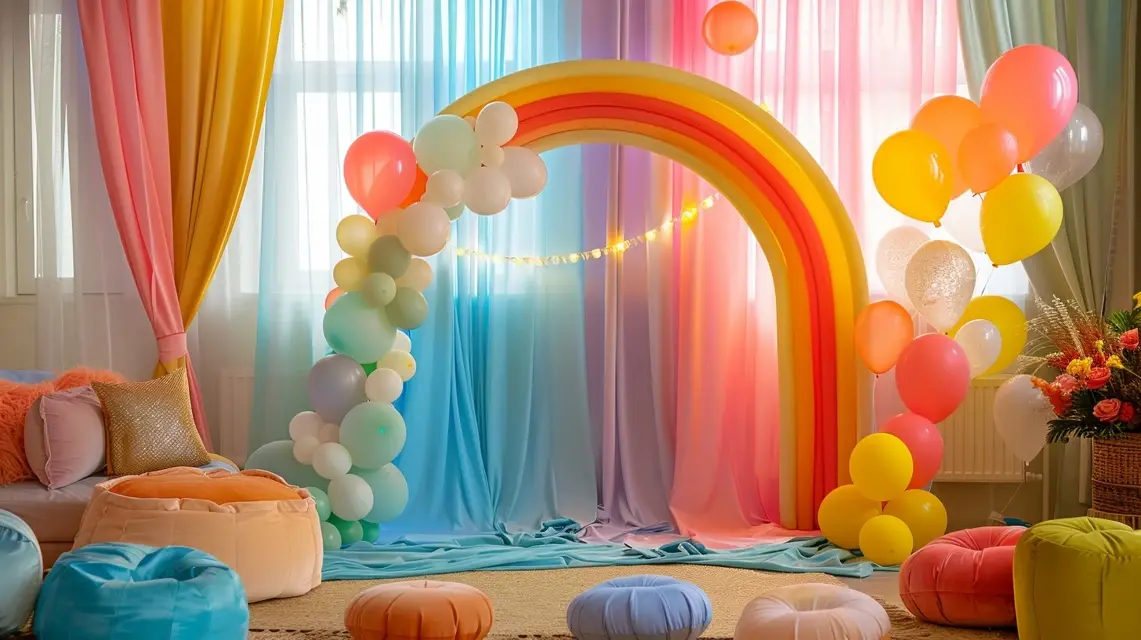
- Balloon garlands for festive birthdays
- Greenery and flowers for weddings
- LED lights for evening parties
Tips for Success
- Assemble at least one day before the event to test stability
- Use reusable fasteners for easier decoration changes
- Mark pipe or wood sections for quick disassembly and storage
Where to Use a DIY Arch Backdrop Stand
Your completed stand is perfect for:
- Wedding ceremonies and receptions
- Birthday parties and milestone celebrations
- Baby and bridal showers
- Corporate or community photo zones
Next Steps
Once you’ve mastered the basic build, explore our guides on DIY fabric coverings and greenery accents for arches to take your design to the next level.
Conclusion
Building a DIY arch backdrop stand doesn’t have to be complicated. With simple materials and this step guide, you can create a reliable and stylish backdrop that transforms any event space into something memorable.
